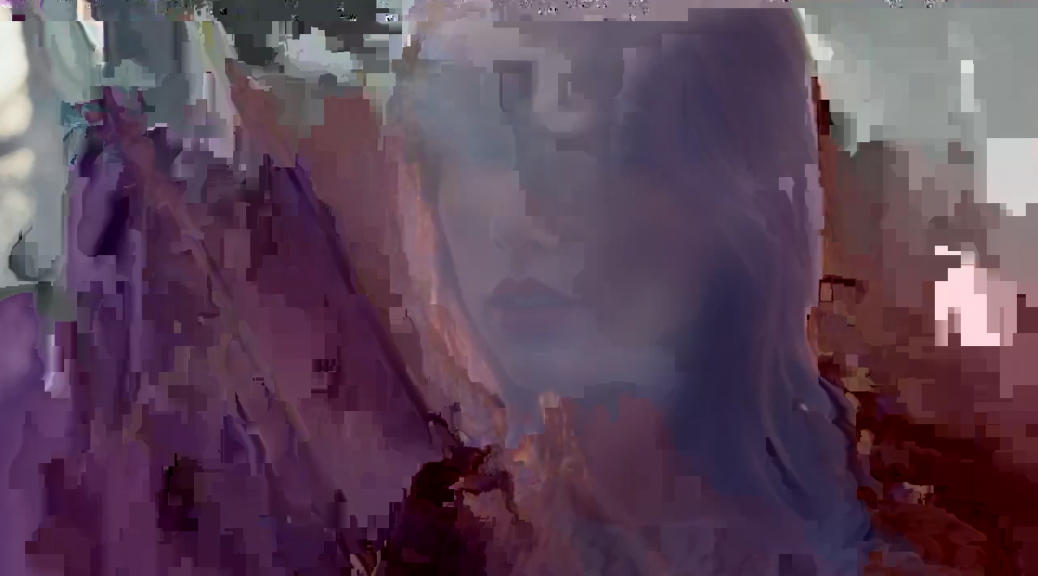
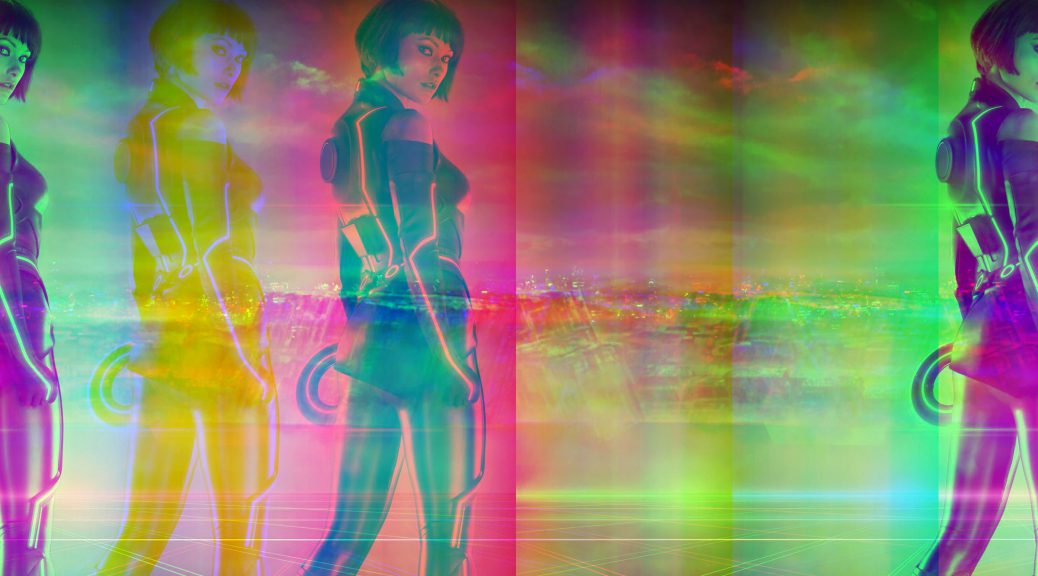
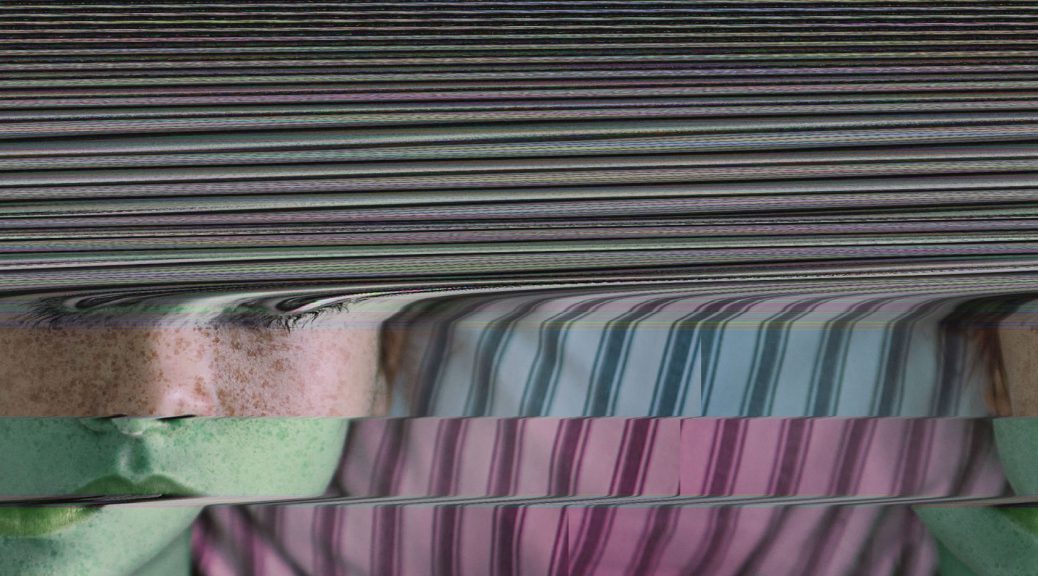
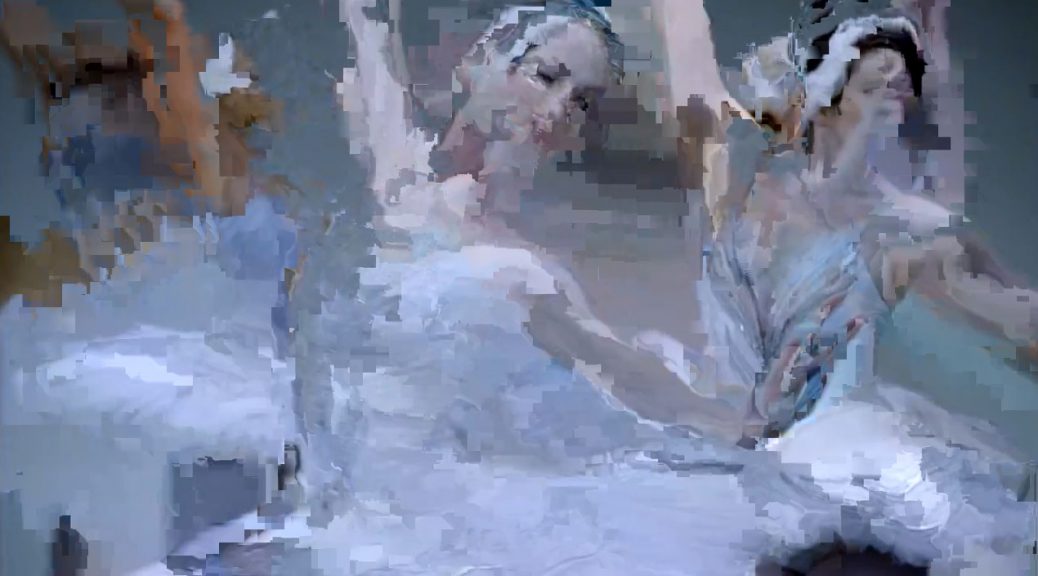
Channel shifting is the process of taking the red, green or blue values of pixels in an image and applying those values to pixels in different positions on the image. In this tutorial we are going to accomplish this effect using the Processing language.
If you don’t have the time or inclination to glitch images using scripts you can use dedicated apps such as Glitch for iOS.
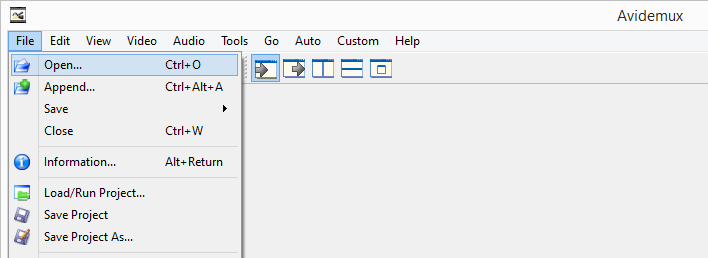
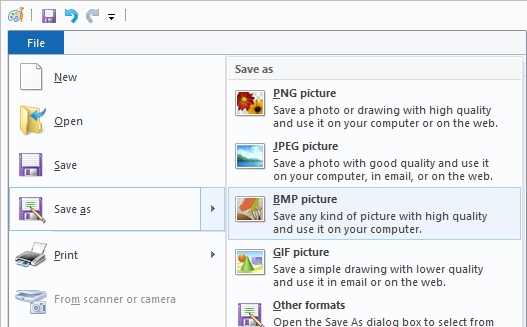
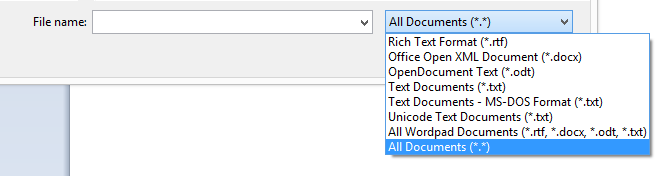
To get started download and install the latest version of Processing, version 3.1.1 at the time of writing this. I’ve written a channel shifting script you can download here, you’ll have to unzip it once it’s downloaded. Once you’ve installed and opened Processing you can load the script by accessing the menu.
File > Open
And navigating to the ChannelShiftGlitch.pde script file. In the script, which are referred to as sketches in Processing, you’ll need to change the following lines to point the script at the image you want to glitch. It’s easiest to place the image in the same directory as the script file.
// image path is relative to sketch directory
String imgFileName = "MyImage";
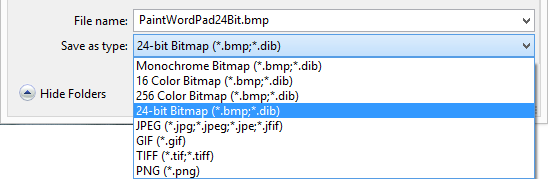
String fileType = "jpg";
I’ve set up some settings variables to make the script easier to use, you can see these towards the top of the script under the comment of script settings.
// repeat the process this many times
int iterations = 5;

// use result image as new source for iterations
boolean recursiveIterations = false;

// shift the image vertically true/false
boolean shiftVertically = false;

// shift the image horizontally true/false
boolean shiftHorizontally = true;
This script is able to apply the same channel shifting effect multiple times, the number of times is specified by the iterations variable, currently set to 5. This variable drives a for loop around the channel shifting code as seen below.
// repeat the process according
// to the iterations variable
    for(int i = 0;i < iterations;i++)
    {
      // generate random numbers
      // for which channels to swap
      int sourceChannel = int(random(3));
      int targetChannel = int(random(3));
You can also see in this code where the script generates a random number which will determine which of the three channels, red, green or blue are used as a source, and which of the three channels are used as a target. Next the script sets up the shifting positions, how far vertically and how far horizontally the channel should be shifted. These are either 0 if shifting is set to false for that plane (determined by the shiftHorizontally and shiftVertically settings), or a random number between the 0 and the height or width of the image.
// start with no horizontalShift
int horizontalShift = 0;

// if shiftHorizontally is true generate a
// random number to shift horizontally by
if(shiftHorizontally)
  horizontalShift = int(random(targetImg.width));

// start with no verticalShift
int verticalShift = 0;

// if shiftVertically is true generate a
// random number to shift vertically by
if(shiftVertically)
  verticalShift = int(random(targetImg.height));
Next the script calls the main copyChannel method. This method accepts pixel arrays of the source and target images and will copy one channel to another from one part of the image to another and wrap around both horizontally and vertically if it runs out of space.
// shift the channel
copyChannel(
  sourceImg.pixels,
  targetImg.pixels,
  verticalShift,
  horizontalShift,
  sourceChannel,
  targetChannel
  );
The method starts by starting a counter to loop through the rows of pixels in the image, top-to-bottom. This counter is added to the sourceYOffset variable to apply the vertical shift. If the vertical shift plus the counter is higher than the image height we subtract the image height to wrap the shift around to the top of the image.
// starting at the sourceY and pointerY
// loop through the rows
for(int y = 0; y < targetImg.height; y++) {
  // add y counter to sourceY
  int sourceYOffset = sourceY + y;

  // wrap around the top of the
  // image if we've hit the bottom
  if(sourceYOffset >= targetImg.height)
    sourceYOffset -= targetImg.height;
Within the row loop the script starts another counter to loop through the columns in that row, left-to-right. It also adds that counter to the sourceXOffset to apply the horizontal shift. If the horizontal shift plus the counter is wider than the image width we subtract the image width to wrap the shift around to the left of the image.
// starting at the sourceX and pointerX
// loop through the pixels in this row
for(int x = 0; x < targetImg.width; x++)
{
  // add x counter to sourceX
  int sourceXOffset = sourceX + x;

  // wrap around the left side of the
  // image if we've hit the right side
  if(sourceXOffset >= targetImg.width)
    sourceXOffset -= targetImg.width;
Processing stores image pixels in an array as illustrated in the image below.
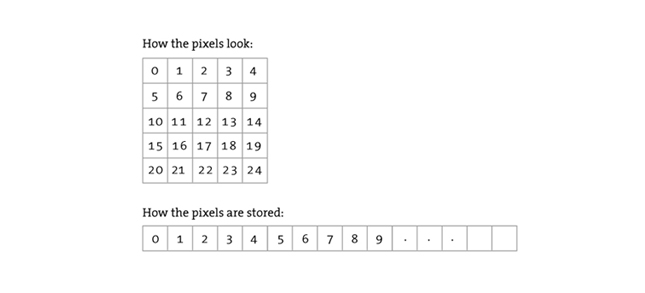
In order to access a pixel at specific x/y coordinates in the image we use the formula below.
y * width + x
Next the script isolates the RGB (red, green, blue) values for both the source and target pixels by using the formula above to access the pixel and then some Processing methods to extract the separate RGB channel values.
// get the color of the source pixel
color sourcePixel =
  sourcePixels[sourceYOffset * targetImg.width + sourceXOffset];

// get the RGB values of the source pixel
float sourceRed = red(sourcePixel);
float sourceGreen = green(sourcePixel);
float sourceBlue = blue(sourcePixel);

// get the color of the target pixel
color targetPixel = targetPixels[y * targetImg.width + x];

// get the RGB of the target pixel
// two of the RGB channel values are required
// to create the new target color
// the new target color is two of the target
// RGB channel values and one RGB channel value
// from the source
float targetRed = red(targetPixel);
float targetGreen = green(targetPixel);
float targetBlue = blue(targetPixel);
Now that the script has the RGB of the source pixel and RGB of the target pixel we can proceed to shift one of the channels. We use a switch statement for this, deciding which source channel to use based on the sourceChannel variable which has a holds a random number we generated earlier, either 0, 1 or 2.
// create a variable to hold
// the new source RGB channel value
float sourceChannelValue = 0;

// assigned the source channel value
// based on sourceChannel random number passed in
switch(sourceChannel)
{
  case 0:
    // use red channel from source
    sourceChannelValue = sourceRed;
    break;
  case 1:
    // use green channel from source
    sourceChannelValue = sourceGreen;
    break;
  case 2:
    // use blue channel from source
    sourceChannelValue = sourceBlue;
    break;
}
After selecting a source channel we apply that channel value to either the red, green or blue channel of the target pixel, again using a switch statement, this time based on the targetChannel variable.
// assigned the source channel value to a
// target channel based on targetChannel
// random number passed in
switch(targetChannel)
{
  case 0:
    // assign value to target red channel
    targetPixels[y * targetImg.width + x] =
      color(sourceChannelValue,
        targetGreen,
        targetBlue);
    break;
 case 1:
    // assign value to target green channel
    targetPixels[y * targetImg.width + x] =
      color(targetRed,
        sourceChannelValue,
        targetBlue);
    break;
 case 2:
    // assign value to target blue channel
    targetPixels[y * targetImg.width + x] =
      color(targetRed,
        targetGreen,
        sourceChannelValue);
    break;
}
That’s it for the copyChannel method. The channel has been shifted in the target image at this point. Back in the main draw method of the script there is an if statement that determines whether or not the next iteration (if the iterations variable is to to greater than 1) will use the original image as a source, or use the new shifted image as a source.
// use the target as the new source
// for the next iteration
if(recursiveIterations)
  sourceImg.pixels = targetImg.pixels;
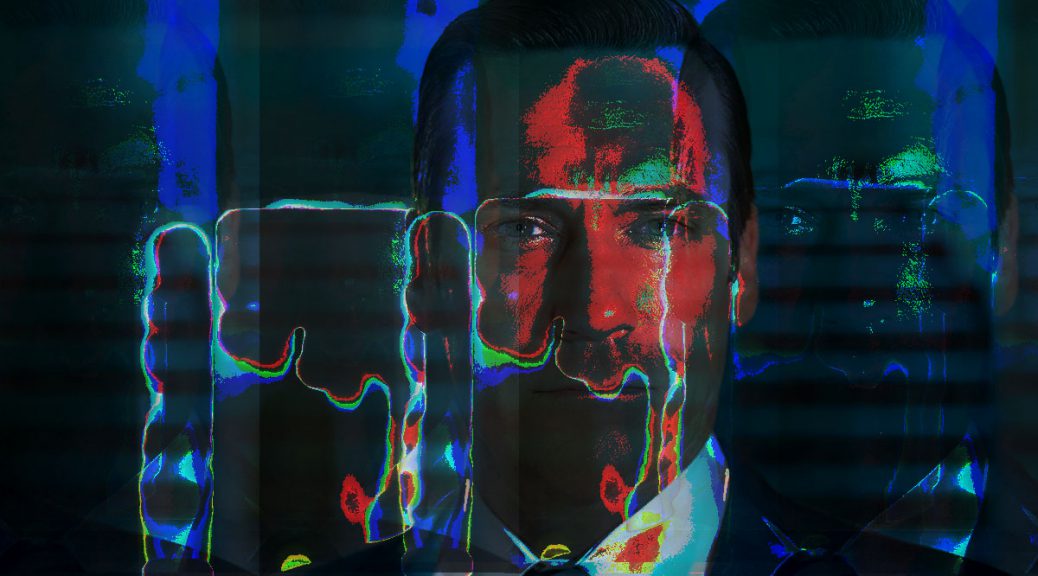
Using the original image as a source for more than 3 iterations is rather pointless because there are only three channels in the original image to shift to around, always resulting in three shifted ghost images. So if you set iterations higher than 3 you should probably set recursiveIterations to true.
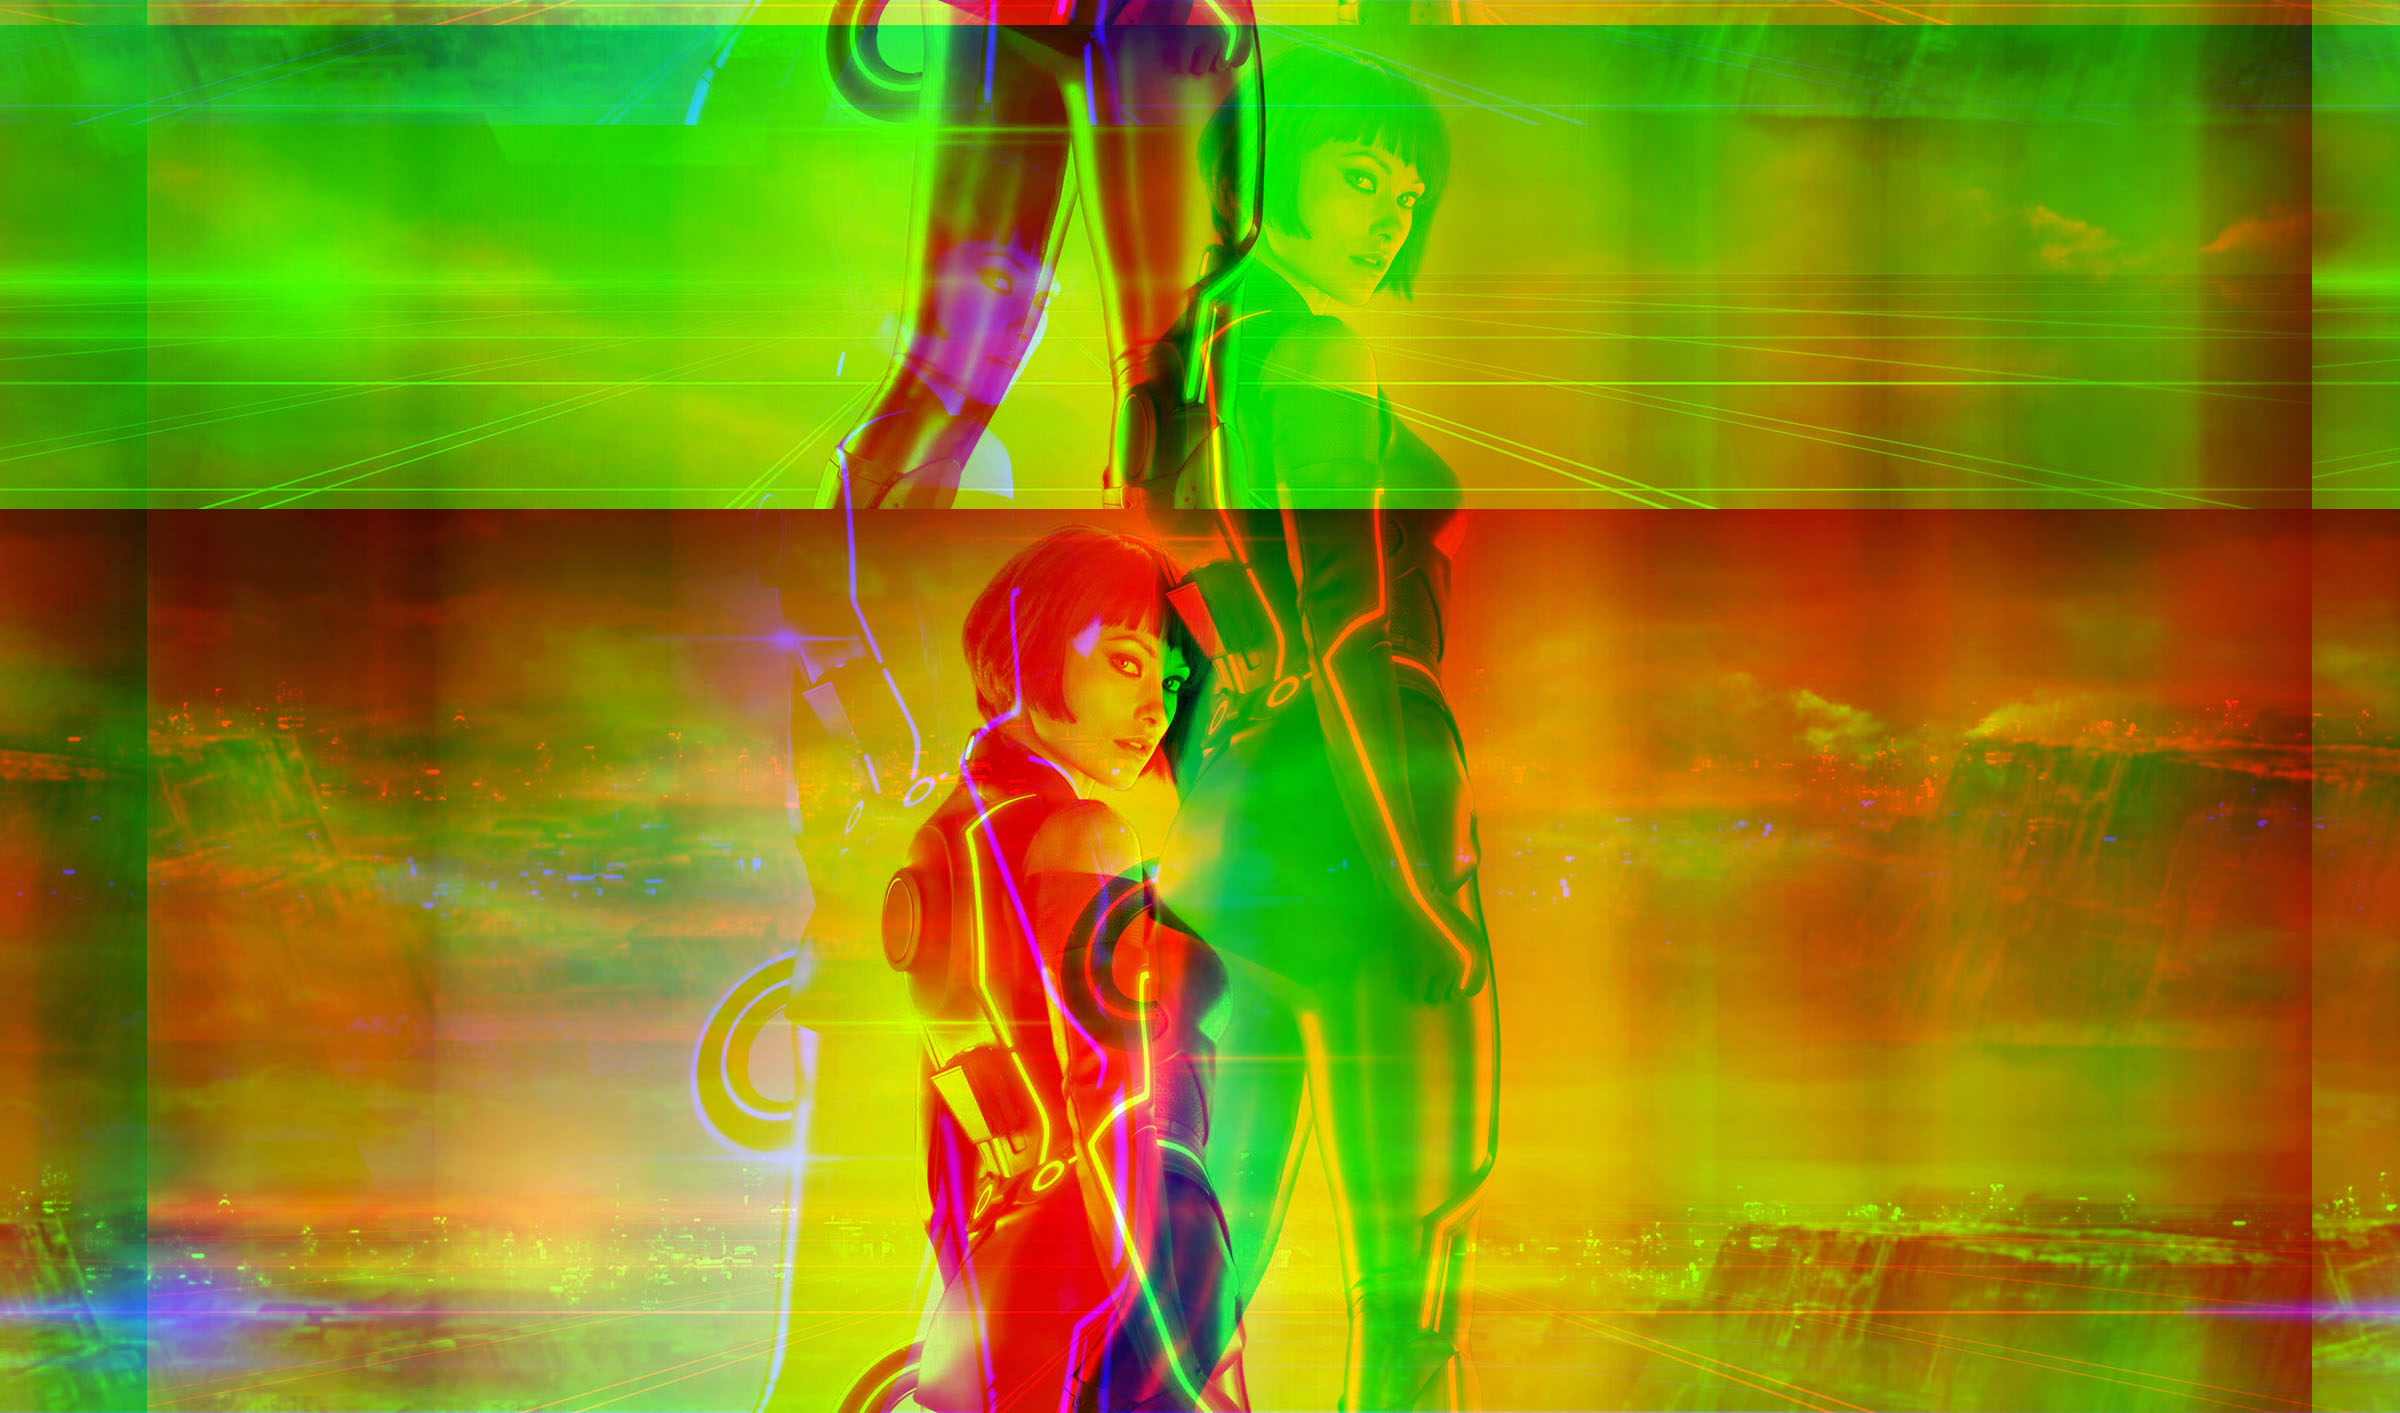
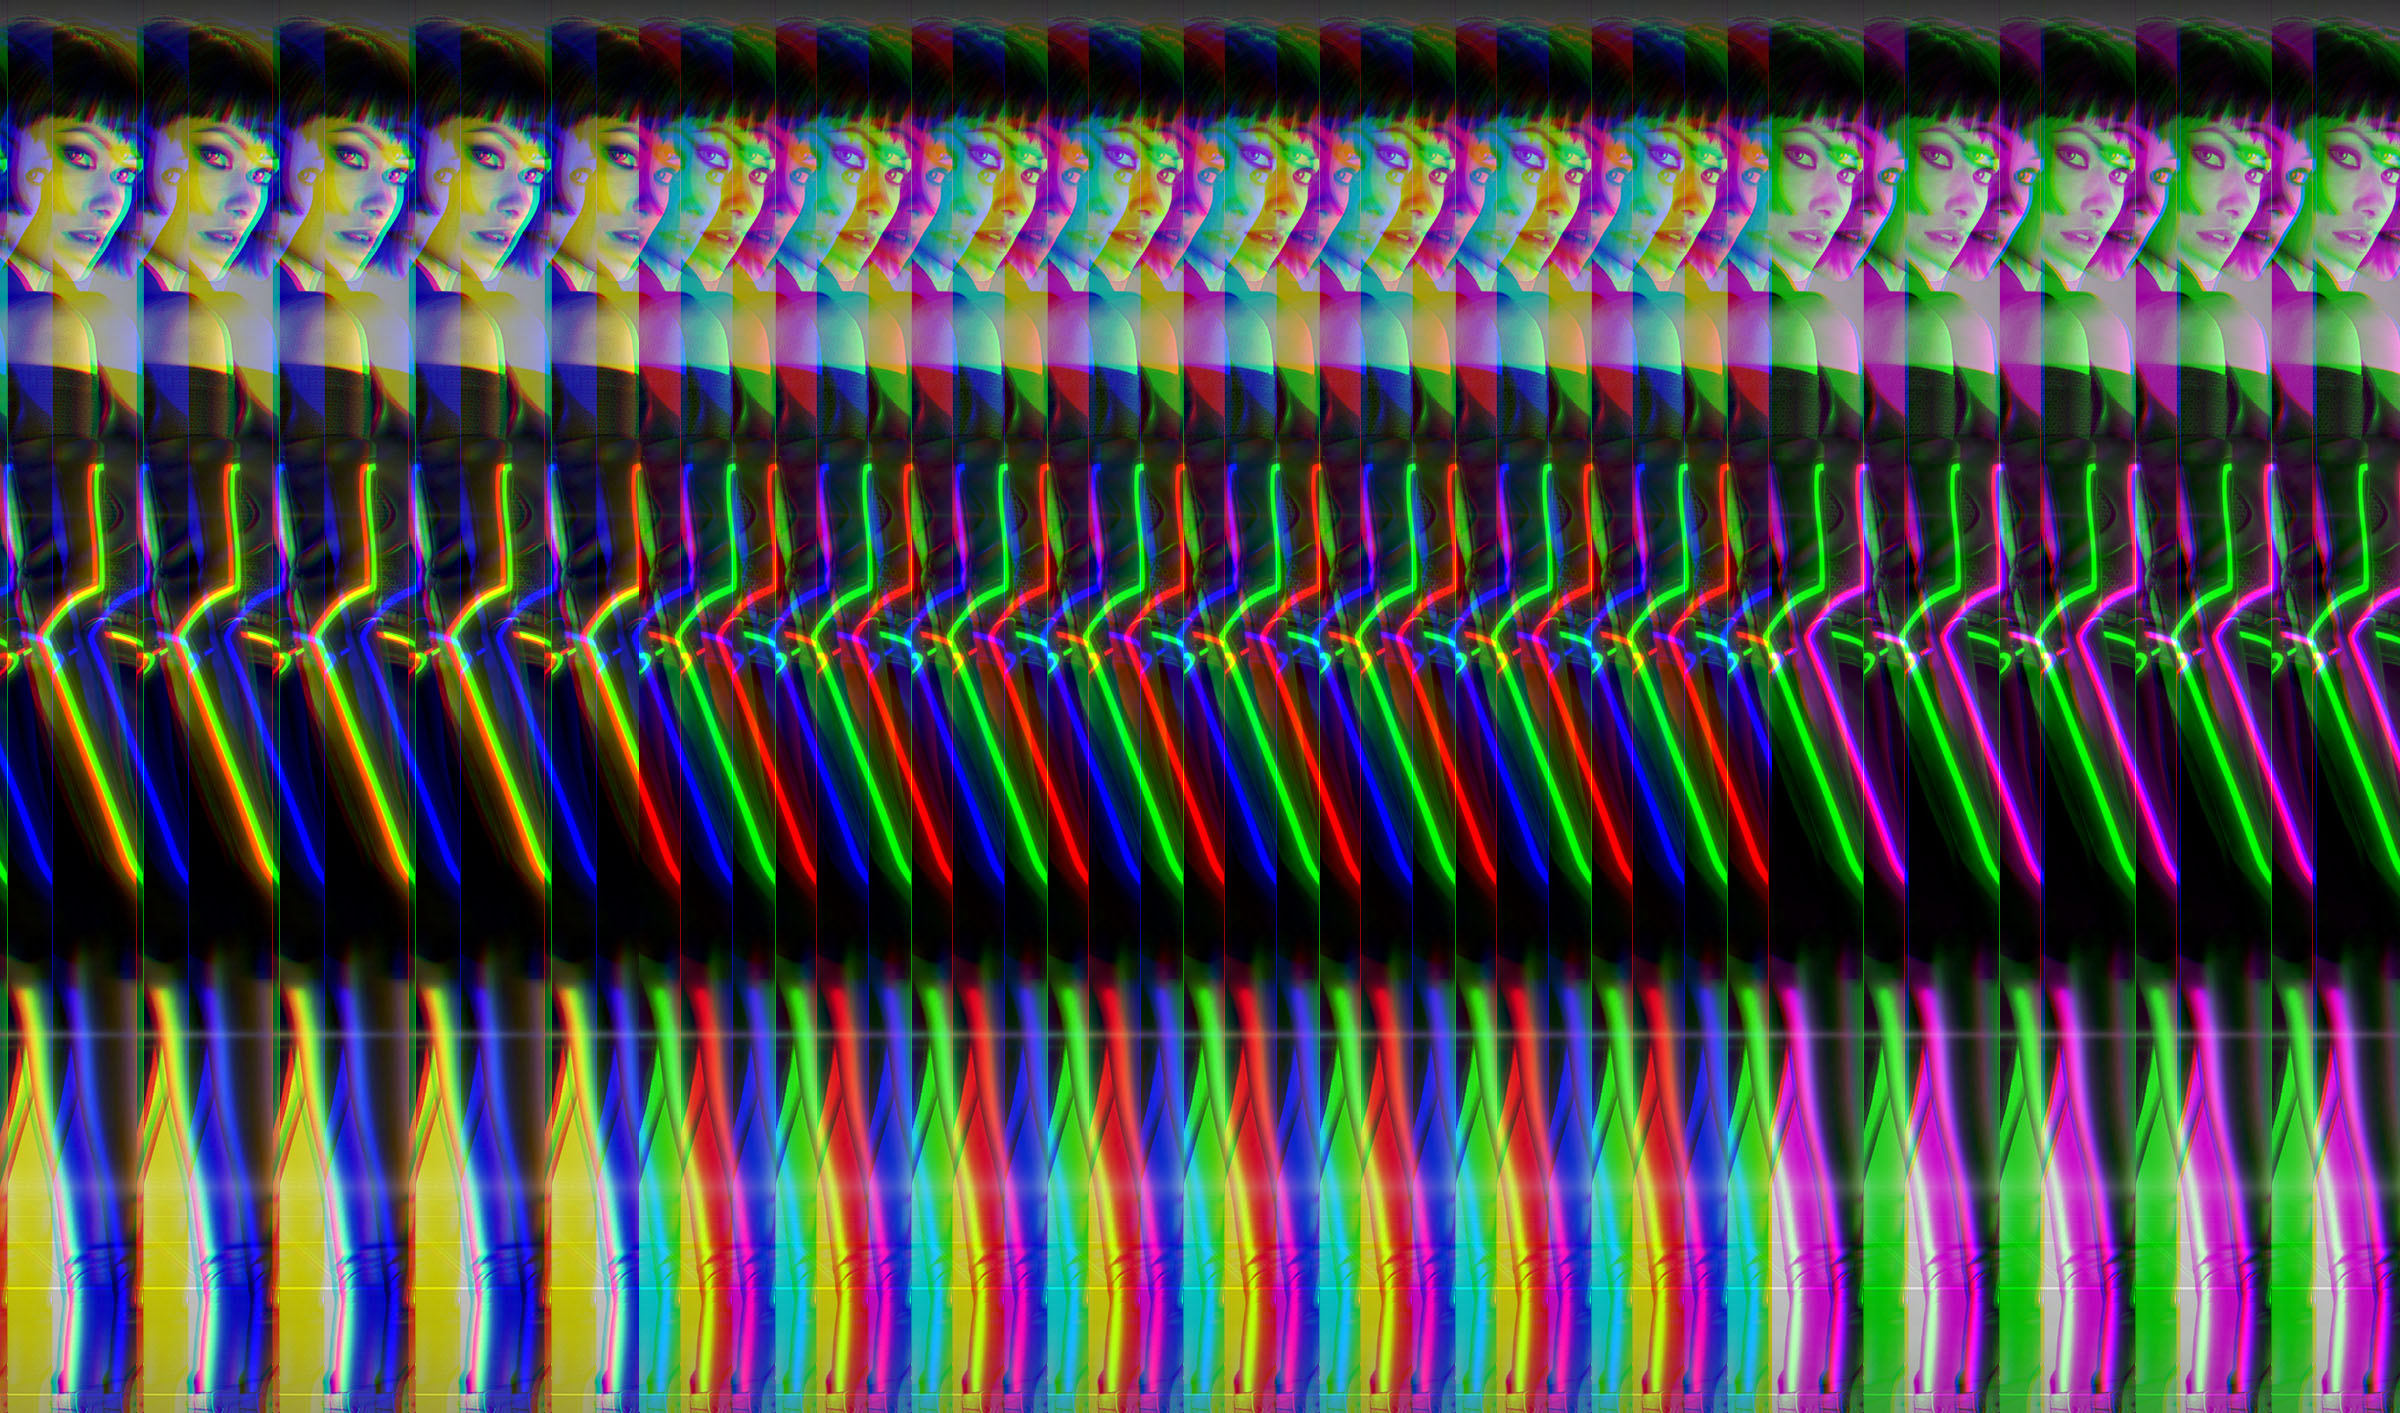
Setting the recursiveIterations variable to true at the beginning of the script will use each new shifted image as a source for the next iteration and will result in much more dynamic results when iterations is set higher than 3, say 25 or 50.
Personally I prefer restricting the shifting to either horizontal or vertical alone, but the script allows for the combination by changing the shiftVertically and shiftHorizontally settings. You can find more Processing tutorials here, and remember, if you’re going to corrupt, corrupt absolutely. #corruptabsolutely
iOS (iPhone, iPad)
Windows
OSX
Processing